|
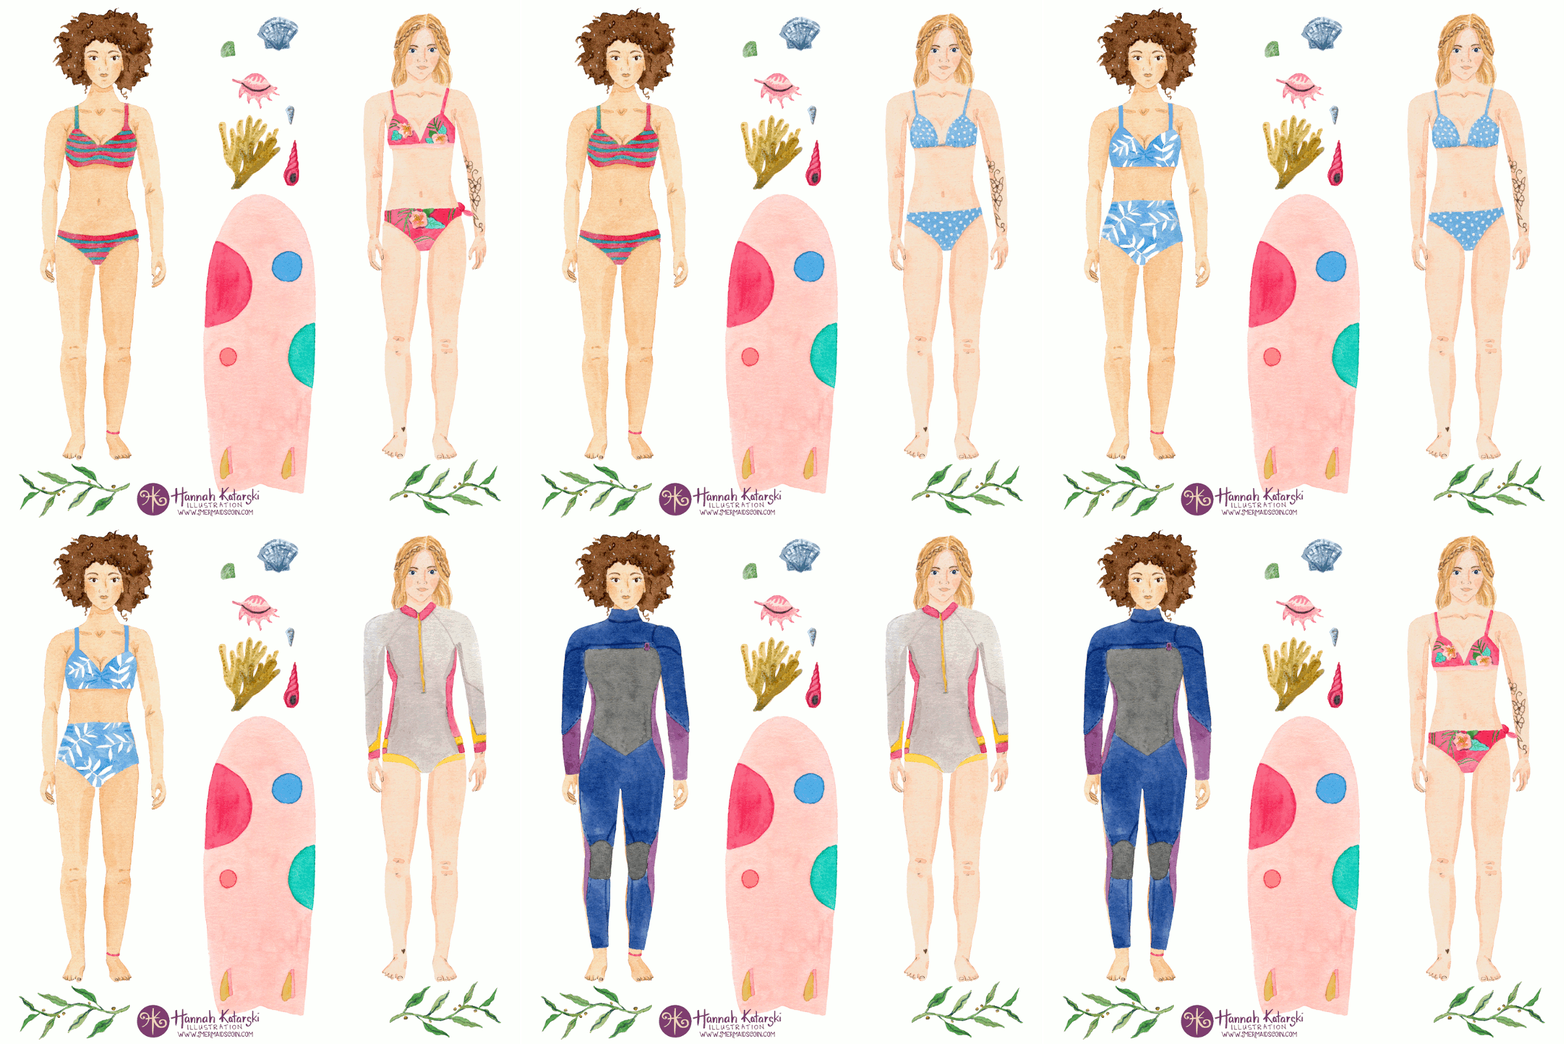
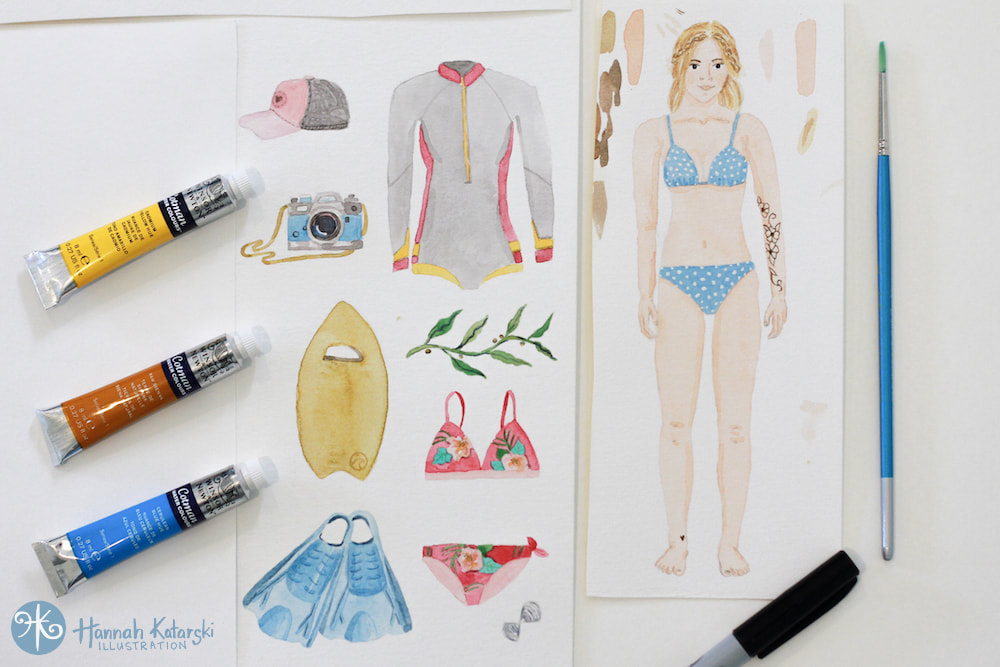
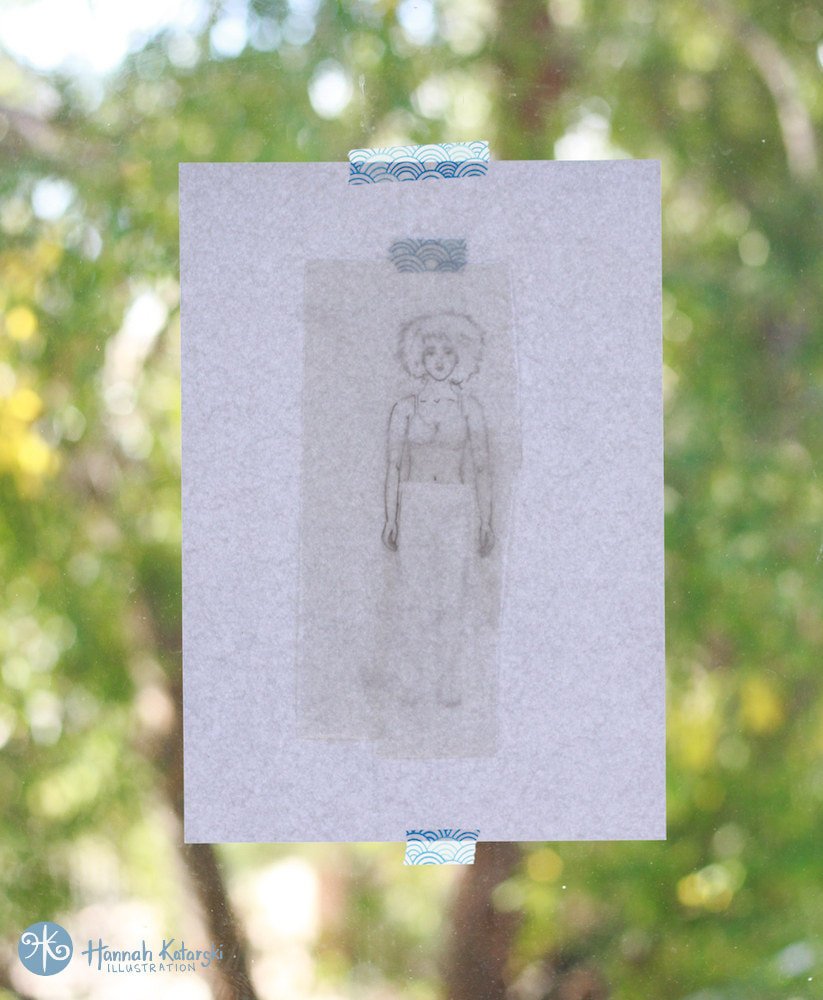
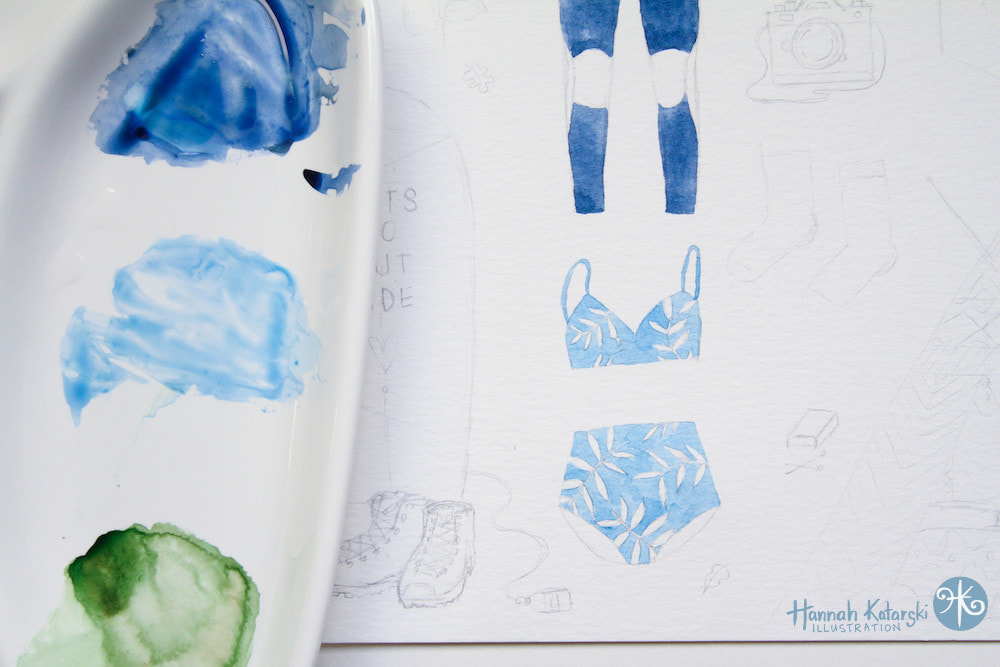
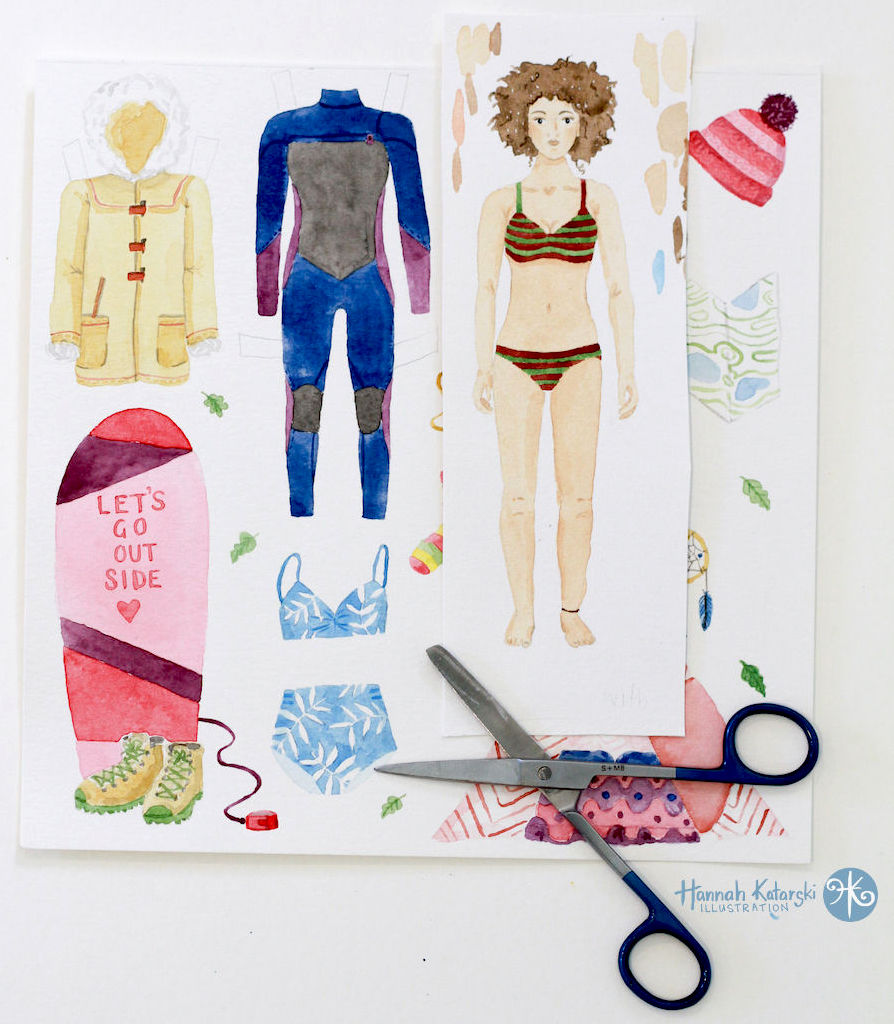
I love painting and I also love surfing. So I love to combine the two wherever I can! Read on to learn how to create a cute paper doll with changeable outfits. Paper dolls are so nostalgic of our youth and have a long history. Your doll can be a mini-me or inspired by someone you know, or completely fictitious. Materials 300gsm watercolour paper or Bristol paper Watercolour, gouache or acrylic paints, coloured pencils or markers Paint brushes Scissors Pencil and eraser Tracing paper (or cheap oven paper) Waterproof fine-liner pen, like Unipin (optional) Light box or a bright window 1. Let’s start with the paper doll. If you enjoy drawing, draw a person freehand. You can stylise the body, face and hair. Or if that is stretching your skills too far, take a full length selfie, or snap a pic of your friend. Wear something figure hugging, or even your bikini. Your doll can have her hands by her sides, or strike a pose that you want your doll to hold, such as a hand on hip. 2. View the photo on a tablet or computer screen and zoom it to the size you want your finished doll to be. Then grab your trusty tracing paper, or oven paper, and lay it on your screen. Pressing gently, trace the important lines. Make sure you get the outline, plus simple lines for facial features and hands. 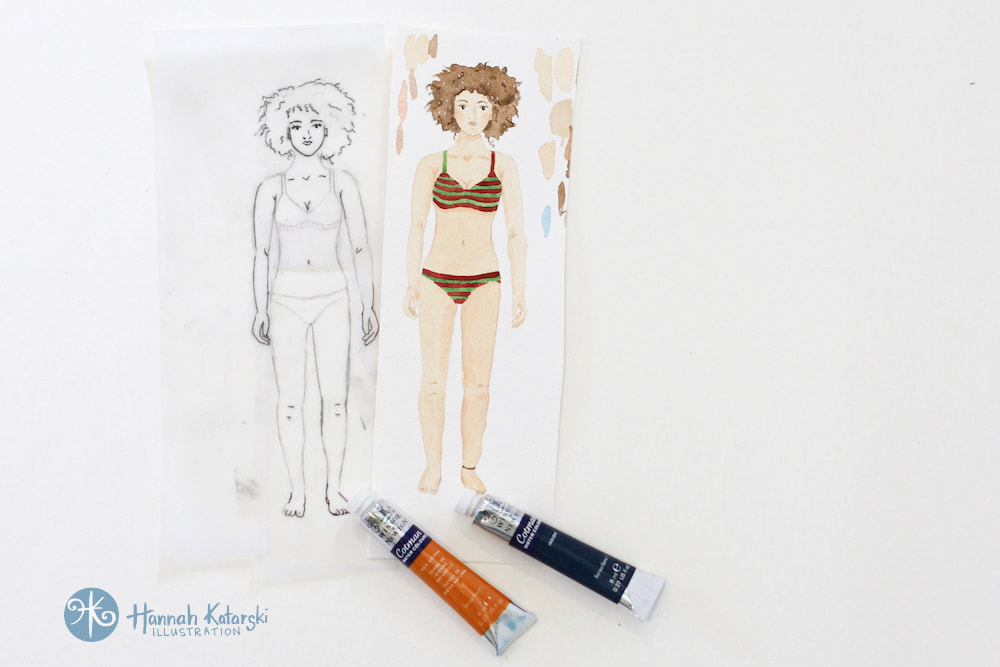 Black and white sketch and the finished doll. Keep facial lines simple. Black and white sketch and the finished doll. Keep facial lines simple. 3. If you like, draw a bikini on your doll, so she is still wearing something when she’s unclothed. When you are happy with your design, go over the pencil lines with the black pen, so it is easier to see. 4. Now that you have the doll, you can use this as a template for drawing the clothes. Tape your tracing paper with the doll to a light box or to a bright window. Carefully tape the edge of the watercolour paper over the top so you can see your doll through it. Now draw an outfit straight onto your watercolour paper, or draw it onto a fresh sheet of tracing paper if you’ll need a few goes to get it right. The outfit can be bigger and wider that the doll but not narrower. If your doll has its hand on its hip, you may need to include the hand on each new outfit. Once you finish an outfit, move the watercolour paper to align the doll with an empty spot so you can draw your next outfit. Drawing wetsuits are super easy. You could also draw your fave holiday outfit, swimmers and post surf kit, wintery clothes, and evening wear. 5. On each outfit, draw tabs that will fold over and hold the clothes onto the doll. They need to be long enough that they can wrap around. One on each shoulder and a couple near the waist or hips is usually enough. Why not draw some accessories, like your dream surfboard? 6. Using the window again, trace your doll onto watercolour paper. If your outfits are on tracing paper, transfer those too.
7. Paint the outfits using your preferred supplies. You can even use coloured pencils or markers, or a combination. You may like to ink the important details with the waterproof pen and erase your pencil marks before painting. When painting, wait for one area to dry before painting next to it. This will stop colours bleeding into each other. 8. When everything is dry, cut out your doll and outfits with a pair of small, sharp scissors. Don’t forget to keep the tabs attached! These paper dolls make wonderful gifts or keepsakes from an adventure. When you complete the project, share your paper doll with @mermaidscoin and #surfgirlpaperdolls on instagram.
0 Comments
Leave a Reply. |
WELCOME TO MERMAiD'S COiNSurf Artist, Hannah Katarski is based in Fremantle, Western Australia. She creates ocean-inspired art that is bohemian, retro and fun. Categories
All
Instagram @MermaidsCoin |
 RSS Feed
